— Help center
Getting started with Caledee
From a fresh account to your first confirmed booking. This walkthrough takes about five minutes.
1. Create your account
Sign up at caledee.com/signup. You can register with Google, with Microsoft, or with an email and password. New accounts start a 14-day Pro trial automatically — no card required.
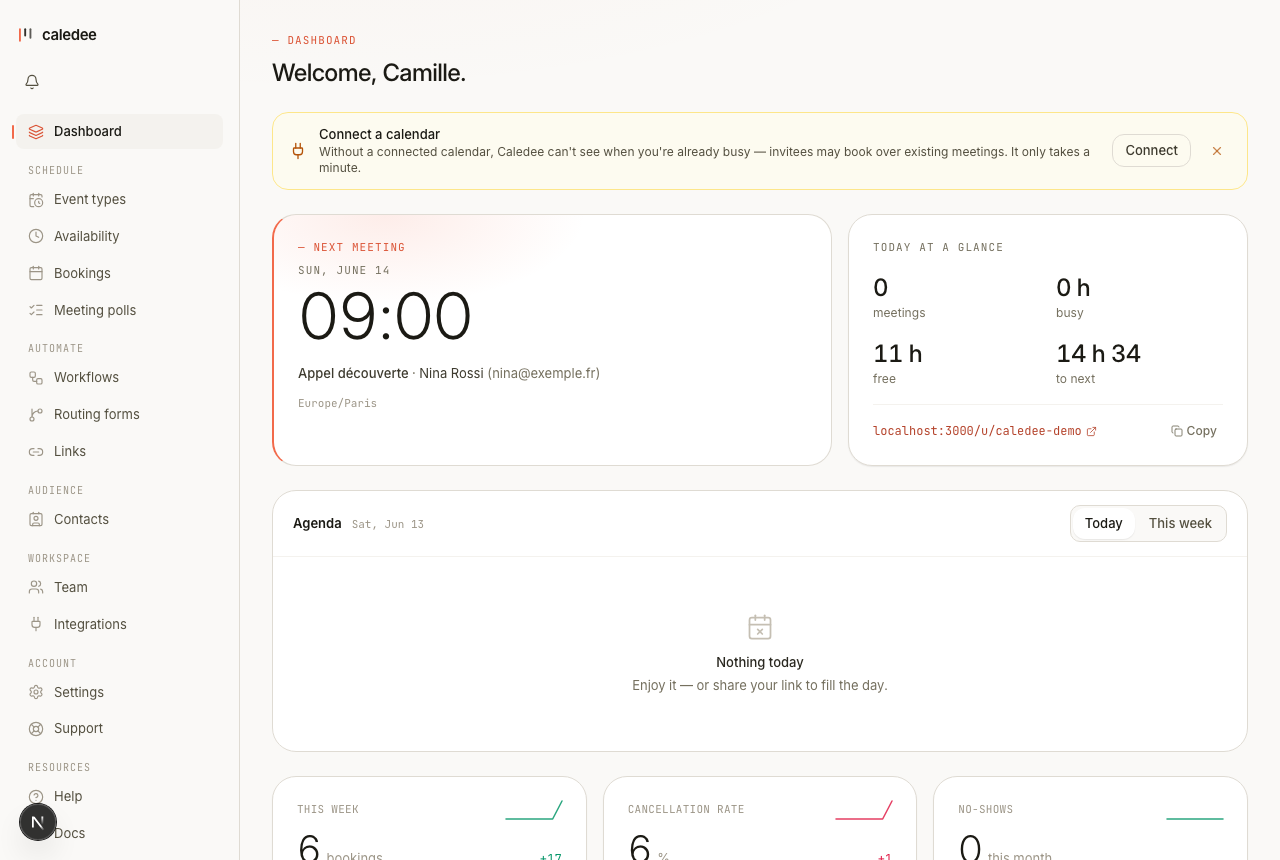
2. Connect a calendar
After signing up, head to Integrations and connect at least one calendar. Caledee reads your existing events so it never double-books you, and writes each new booking back to the calendar you choose.
- Google Calendar and Microsoft 365 / Outlook connect over OAuth — no service account, no admin involvement.
- Zoom adds a unique meeting link to every booking automatically.
3. Set your availability
Open Availability and define your weekly working hours. You can set different hours per weekday, add buffer time around meetings, and require a minimum notice before someone can book. See Availability & schedules for the details.
4. Create an event type
An event type is a bookable link — for example a 30-minute intro call. From Event types, click New event type and set the basics:
- A name invitees will see.
- One or more durations they can choose.
- A location — Google Meet, Zoom, phone, in person, or a custom link.
- A slug, which becomes the URL segment.
Save it, and your link is live. Event types: durations, buffers & questions covers everything you can configure.
5. Share your link
Copy your booking link from the dashboard or the event types list and paste it into an email signature, a LinkedIn profile, or your website. You can also embed the booking widget directly on your site.